
Using FortiAuthenticator to replace vCenter root CA
- Matt Sherif

- Oct 11, 2019
- 6 min read
Ah, certificates, you lovely pains in my backside. On one hand, you secure the web, validate that services say they are who they say they are. On the other, you're a major pain - I'm looking at you Mr. Self Signed Cert.

You're a major pain now because certain OSes no longer trust the self signed cert that's valid for 1000 years - kidding, most are valid for 10 - and if you're a Google Chrome/Apple Safari user on macOS who recently upgraded to Catalina like myself (queue Mac/Windows argument), it will show up as revoked and aside from circumventing the revocation check, something I strongly advise against, you won't get in.
Thanks to tighter security for SSL/TLS certificates introduced in macOS Catalina (10.15), many self-signed certs were treated as revoked - as self signed certs tend to be valid for 10 years, and Catalina will not trust anything valid for longer than 825 days.
Many of the self signed certs in my lab were replaced with my let's encrypt certs since they're public facing, everything else is signed by FortiAuthenticator. The only holdout was vCenter, as it's not just a simple rip and replace, especially since I'm looking to do this with FortiAuthenticator as the CA - there are plenty of articles on how to do this with Microsoft Certificate Services, but I've yet to find one for FortiAuthenticator.
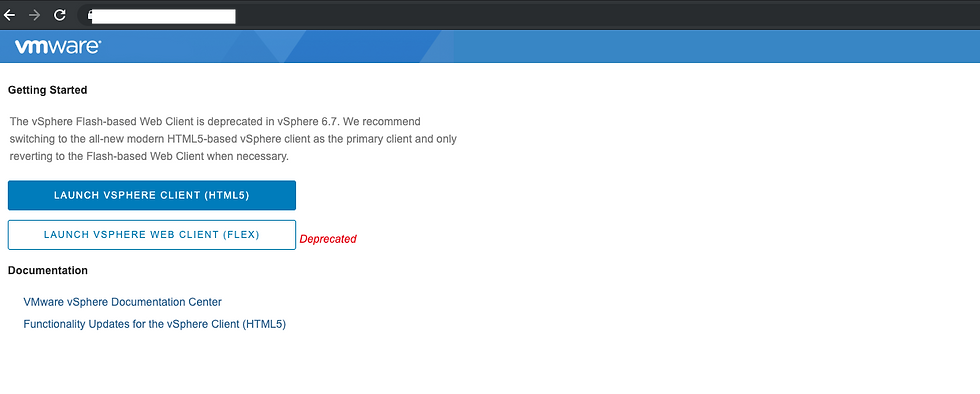
I was forced to do something about it when I went to log into vCenter and was met with this page:

I hope I can spare you some of the pain of figuring this out.
Lab Setup
VMware vSphere 6.7 with vCenter Server Standard
FortiAuthenticator 6.0.3 with a Root CA already provisioned
Issuing Intermediate CA Certificate in FortiAuthenticator
According to digicert.com "An intermediate CA certificate is a subordinate certificate issued by the trusted root specifically to issue end-entity server certificates.". In fact, many 3rd party websites who issue SSL/TLS certificates are Intermediate Certification Authorities. Which is why at times you need to include the full chain when trusting that CA. To allow vCenter to issue is own certs you should have a trusted intermediate CA cert installed, even if it's only trusted by your own organization.

In FortiAuthenticator navigate to Certificate Management > Certificate Authorities > Local CAs
Click "Create New"
You can choose an appropriate meaningful name for your certificate ID - this will be the name of the file
Select Intermediate CA Certificate as the certificate type
Fill in the Name, Department, Company, City, State/Province, Country, and Email according to your needs - take note of these fields, we'll use them later
Set the validity period to no more than 825 days
Key size needs to be 2048 or greater
Hash algorith needs to be SHA-256
Advanced options: Key Usages - the default is fine for Key Usages, but it's REQUIRED that you select the server authentication Extended Key Usage and mark it as critical
Click OK

Exporting the Intermedia CA certificate/key and the Root CA certificate
Now that we've created the intermediate CA, it's not doing us a lot of good until we export it and the private key. Note: This can only be done once, so take special care while doing this:
Select the checkbox next to the certificate we just created and click on 'Export Key and Cert'
In the next screen you will be prompted to choose a password for your private key, assign a password to your private key and click 'OK'
Now you can download the cert as a PKCS12 file, this is both the certificate and private key in the same file. We'll separate these later, for now just click download PKCS #12 file
Now we'll export the Root CA Cert by ticking the checkbox and clicking 'Export Certificate'
Extracting the certificate and private key from the PKCS#12 file
In many cases you can use the PKCS#12 file right away, unfortunately for vCenter, you need to split it into cert/key (pem) format. We'll use open SSL to perform this. You will use terminal to navigate to the directory in which you downloaded the PKCS#12 file.
To extract the certificate: openssl pkcs12 -in your_cert.p12 -out intermediate_cert.crt -clcerts -nokeys
To extract the key: openssl pkcs12 -in your_cert.p12 -out intermediate_cert.key -nocerts -nodes
At this time we are going to take the Root CA cert, and append it to the bottom of the Intermediate Cert it should look like this -----BEGIN CERTIFICATE----- output omitted -----END CERTIFICATE----- -----BEGIN CERTIFICATE----- output omitted -----END CERTIFICATE-----
At this time you should have 3 files intermediate_cert.crt - the public key of our intermediate CA intermediate_cert.key - the private key of our intermediate CA (guard this with your life) root_cert.crt - the root CA certificate we exported earlier
Trusting the CA on your Mac(s)

navigate to the files you just exported and double click on the root_cert.crt, you will be asked where you want to install this certificate, chose the system keychain
Do the same for the intermediate_cert.crt file
Once you've installed both of them to the system keychain, navigate to them and double click on each, expand the trust section and set to 'Always Trust'

Uploading the trusted Root CA to vCenter
In order for vCenter to allow us to import the custom intermediate CA certificate, we will need to first trust the Root CA. We can do this by logging into vCenter and navigating to Menu > Administration > Certificate Management.
Server IP/FQDN: in many cases this will be localhost especially if you're using an embedded platform services controller, but yours may vary
Username: This will be your vCenter SSO administrator - example administrator@vsphere.local
Password: The password of the above user
Once logged in scroll down to Trusted Root Certificates and click 'Add'
Navigate to the root_cert.crt file and click add again
Certificate settings in vCenter
While we're still logged into vCenter, let's make a few additional tweaks so that we don't run into issues later.

Navigate to Hosts and Clusters and select the vCenter instance
Click on the configure tab
Navigate to Advanced Settings and click on Edit Settings on the top right corner
On page 67 of the Advanced Settings set vpxd.certmgmt.certs.daysValid to 825 this will keep vCenter from generating certs that are valid for 10 years thus negating everything we did to this point
On page 67 of the Advanced Settings set vpxd.certmgmt.certs.minutesBefore to 10, the default is 1440 or 1 day. This is the minimum certificate age required for vCenter to accept this. You can choose to leave this be if you'd rather wait the day between generating the cert and importing it.
You can tweak some of the other vpxd.certmgmt settings as it relates to the certificate info (Company, organization, City, State, etc..) but only make these changes if you're comfortable. Playing around with the vCenter advanced settings can have unintended consequences if you're not careful
At this stage go grab a coffee, diet coke, diet dew, or whatever you do to pass the time. If 10 minutes haven't passed you're going to have a hard time importing the cert.
Importing the Intermediate CA cert using certificate-manager
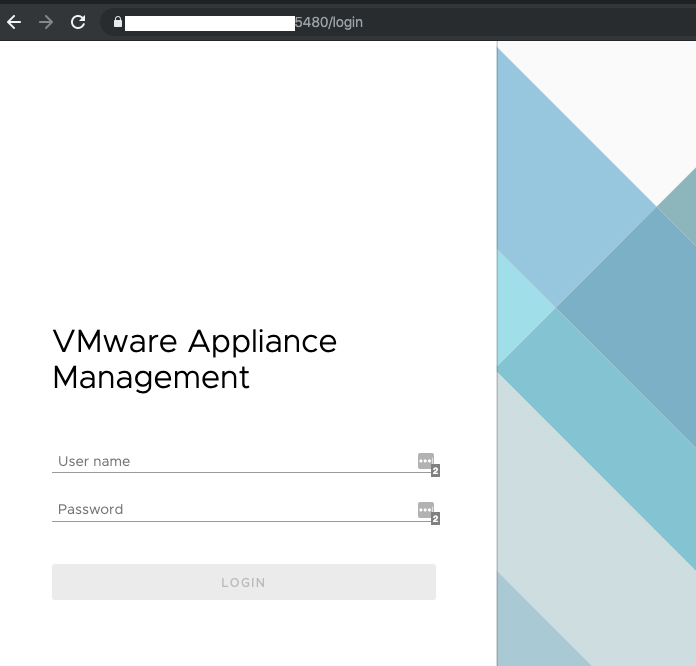
If you don't have SSH or Shell services enabled, go ahead an enable those now. The easiest way to do this is to navigate to the VMware Appliance Management Interface (VAMI):
Browse to https://vsphere-fqdn-or-op:5480
log in with your root credentials for the vCenter Appliance
Navigate to Access and enable SSH Login and BASH Shell
Now you should be able to ssh with the same credentials to your vCenter appliance, when logged in you should see something like this

Type 'shell' and press enter to enable the Bash Shell
Create a folder called VMCA this will keep things tidy for us - issue the command 'mkdir VMCA'
Now you'll want to copy those certificate files over using SCP, if you're on a windows system use winscp scp user@x.x.x.x:~/Folder/Where/Certs/Are/* /root/VMCA/
We are Finally Ready to start the Certificate Manager execute: /usr/lib/vmware-vmca/bin/certificate-manager
You should see a menu similar to this one, select option 2 as we're going to replace the Root certificate with a Custom Signing (Intermediate CA) certificate and regenerate all the certificates

If you are asked to generate all certs using config file, choose no, unless you know what you're doing - I chose no
You will be prompted for your SSO admin and password - just like when you logged into certificate management in vCenter Web Client
Upon successful authentication you may be asked if you want to reconfigure certool.cfg, select yes. If you are not asked you will be asked for details about the custom cert, use the same details as we did above in FortiAuthenticator. I am not sure if this is required, but I did so to err on the side of caution
Provide the path for the custom intermediate cert: in this case adjust to your needs /root/VMCA/intermediate_cert.cert
Provide the path for the custom cert private key: in this case adjust to your needs /root/VMCA/intermediate_cert.key
Once you've provided the above details press Y when you are asked if you want to continue the operation

From there, the process should be automated. You should see something like this:

Wait until it reaches 100%, then you're done!
At the Bash prompt on vCenter you will need to run /etc/init.d/vami-lighttp restart to ensure VAMI presents the correct SSL cert. If you're CLI'd out at this point, you can reboot the vCenter appliance and come back later.
Validation
In a screenshot above, we saw an error stating the certificate was revoked, despite being trusted. Now we'll test again:
Both vCenter and VAMI came up without any errors, most importantly we got the coveted 'Connection is Secure' when inspecting the certificate.
In conclusion, SSL/TLS certs are great for ensuring application security, but can be a pain. Hopefully I spared you some of that pain.
Thank you for reading, I hope this was helpful.


Comments